Creating DIY scented candles is one of the most rewarding ways to bring warmth and charm into your home. Unlike store-bought candles, homemade candles allow you to control the scent, color, and style. Crafting your own candles is not only cost-effective but also provides a relaxing and creative activity. You can even make gift candles that feel personal and thoughtful. With the right candle-making tools, techniques, and tips, you can create slow-burning candles that enhance a cozy home and make every room smell wonderful.
Why DIY Scented Candles Are Worth Making
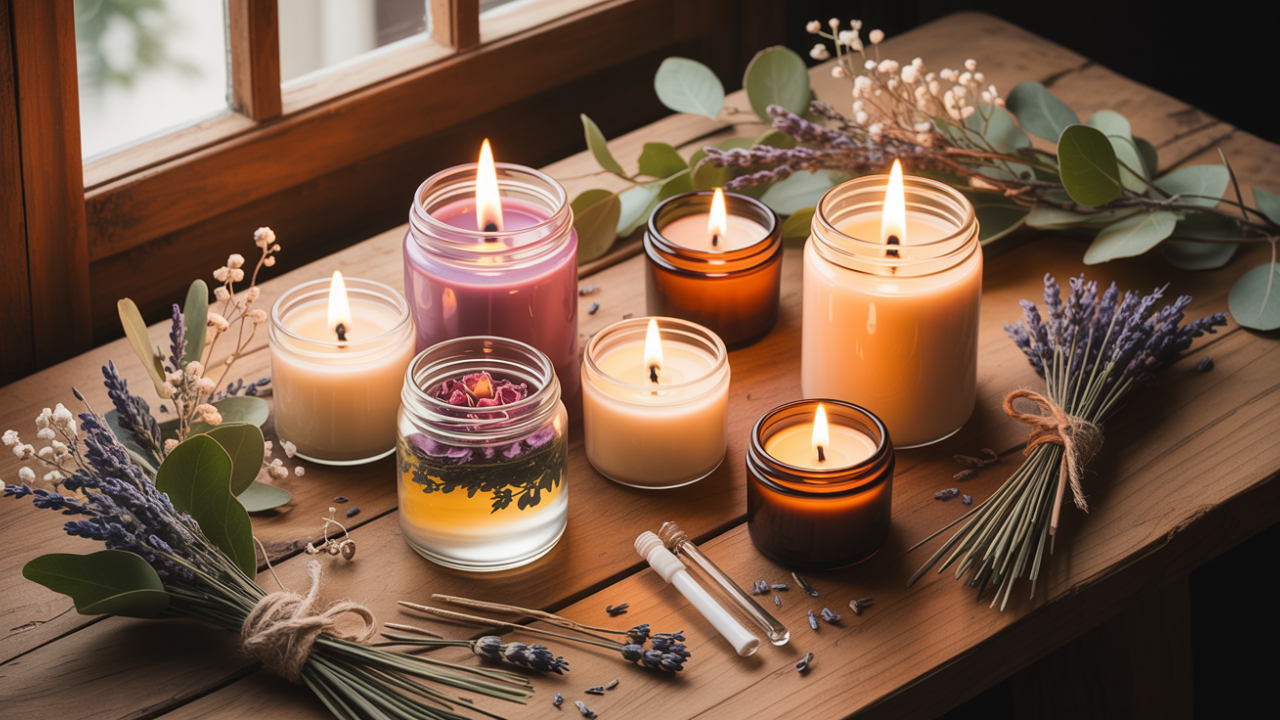
DIY scented candles are more than just a way to add fragrance to a room. They are an experience. Making candles at home lets you create a warm atmosphere with scents that match your mood and your home’s décor. Unlike many store-bought options, homemade candles are free from harsh chemicals. This makes them safer and more eco-friendly. They also make perfect gifts, whether for birthdays, holidays, or just to show appreciation. Many people find candle-making a relaxing ritual that can boost self-care, reduce stress, and make a simple day feel special. Even beginners can quickly learn how to craft candles that smell amazing and look professional.
A quote from a famous candle maker says it best: “Making a candle is like creating a tiny piece of joy. It fills a space with warmth, aroma, and intention.”
Choosing the Right Wax for Your Candles
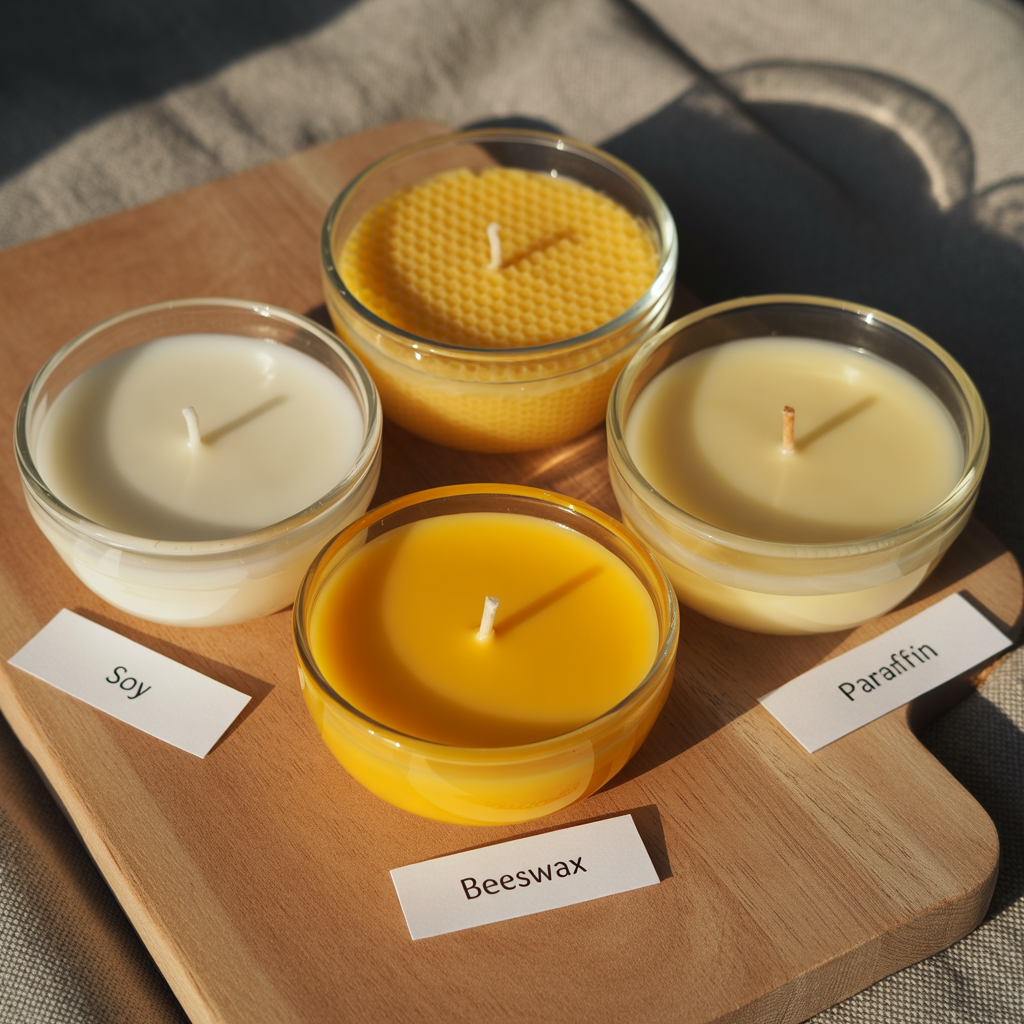
The type of wax you choose greatly affects your candle’s burn, fragrance throw, and finish. Soy wax is one of the most popular options because it burns cleanly, holds fragrance well, and is beginner-friendly. Beeswax offers a natural honey scent and is ideal for slow-burning candles. Paraffin wax is cheaper and widely available, but it produces more soot and is petroleum-based. Coconut wax is sustainable, luxurious, and perfect for gift candles due to its creamy texture.
| Wax Type | Pros | Cons | Best Use |
| Soy Wax | Eco-friendly, easy to use, clean burn | Soft texture, may need additives | Everyday candles |
| Beeswax | Natural aroma, long burn | Expensive, subtle scent | Rustic or natural candles |
| Paraffin Wax | Strong fragrance, cheap | Petroleum-based, soot | Scent-heavy candles for non-indoor use |
| Coconut Wax | Smooth texture, slow-burning | Expensive, limited availability | Luxury or handmade gifts |
Choosing the right wax is the first step in crafting scented candles at home that look beautiful and last long.
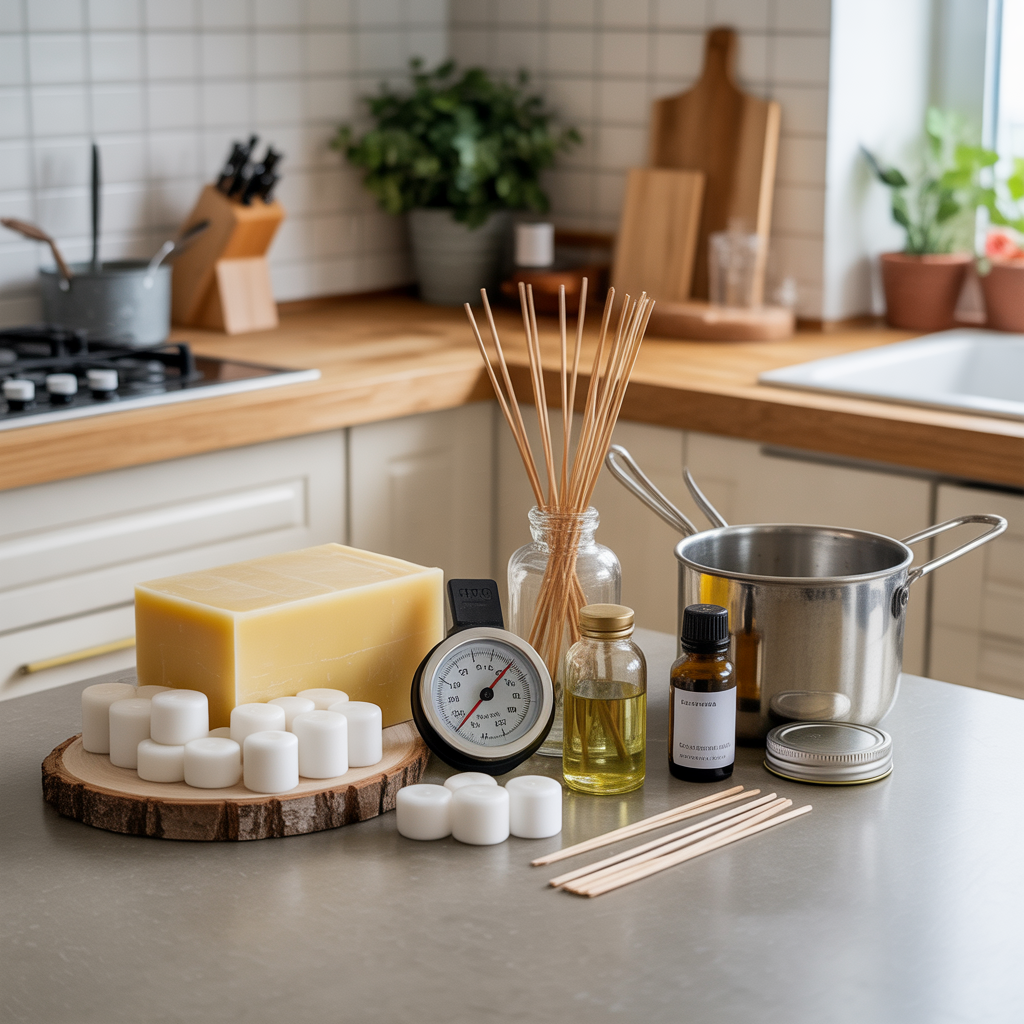
Essential Candle-Making Supplies You’ll Need
Before you start, it is important to gather all the candle-making tools. You will need wax, candle wicks (cotton or wooden), essential oils or fragrance oils, heat-safe containers such as jars, mugs, or tins, and a double boiler or microwave-safe bowl. A kitchen thermometer is helpful for melting wax, and wooden skewers or chopsticks make stirring easier. Wick stickers or a dab of glue can keep the wick centered while pouring the wax. Having all these items in one spot makes DIY candle-making smooth and enjoyable.
With the right tools, anyone can start candle-making for beginners and create professional-looking homemade candles that fill a home with scent and warmth.
How to Pick the Perfect Candle Scents
Choosing scents is one of the most enjoyable parts of making DIY scented candles. Relaxing candle scents like lavender, chamomile, and vanilla are perfect for bedrooms or self-care rituals. For energy, citrus, peppermint, or eucalyptus blends can boost mood and focus. Warm scents like cinnamon, clove, and sandalwood create a cozy vibe during winter, while seasonal scents such as pumpkin spice in fall or florals in spring add festive charm.
Blending scents allows you to craft a signature aroma. For instance, mixing peppermint with vanilla can mimic candy canes, while lavender with clove can create a calming holiday scent. Experimentation is key in blending scents for candles.

Step-by-Step Guide to Melting and Pouring Wax
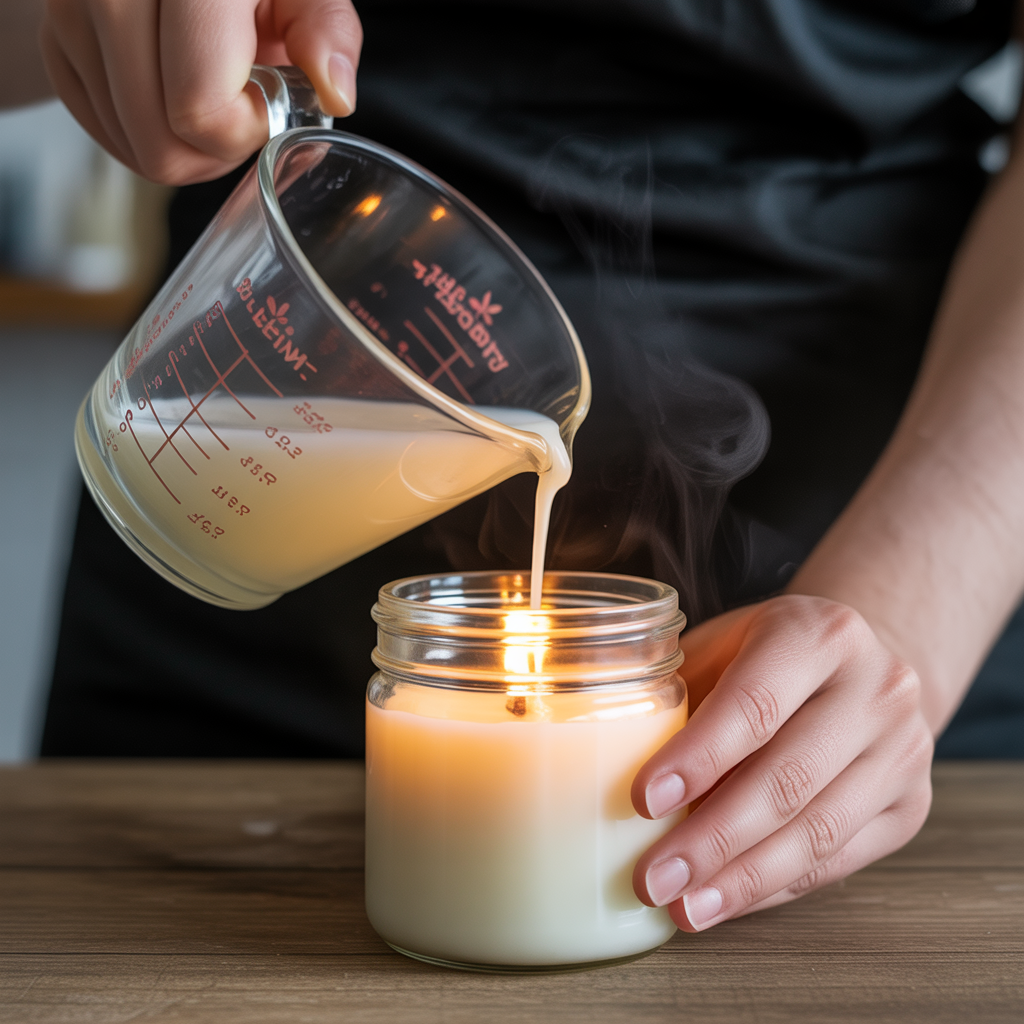
Melting wax requires care and patience. Double boiler methods are safest, using a heatproof bowl over simmering water. This allows you to maintain even heat and avoid scorching. A microwave method works too but requires short 30-second bursts and frequent stirring. Soy wax melts best at 170–180°F. Using a thermometer ensures the wax reaches the right temperature for adding fragrance.
Once melted, candle pouring must be done slowly to avoid air bubbles and uneven tops. Centering the wick with a skewer or stick is essential for a professional finish. Pouring wax is not just a task, it’s a ritual that sets the mood for self-care with candles.
Adding Fragrance and Coloring Your Candles
Fragrance is added to the wax at the correct temperature to prevent evaporation. For most recipes, 20–30 drops of essential oils per 8 oz of wax is ideal. Fragrance oils designed for candle-making work well too, giving long-lasting aroma. Coloring the wax with candle dyes allows you to match your home décor or create vibrant seasonal candle decorations. Stir the mixture gently but thoroughly to evenly distribute both scent and color. This step turns your candle into a personalized piece of art.
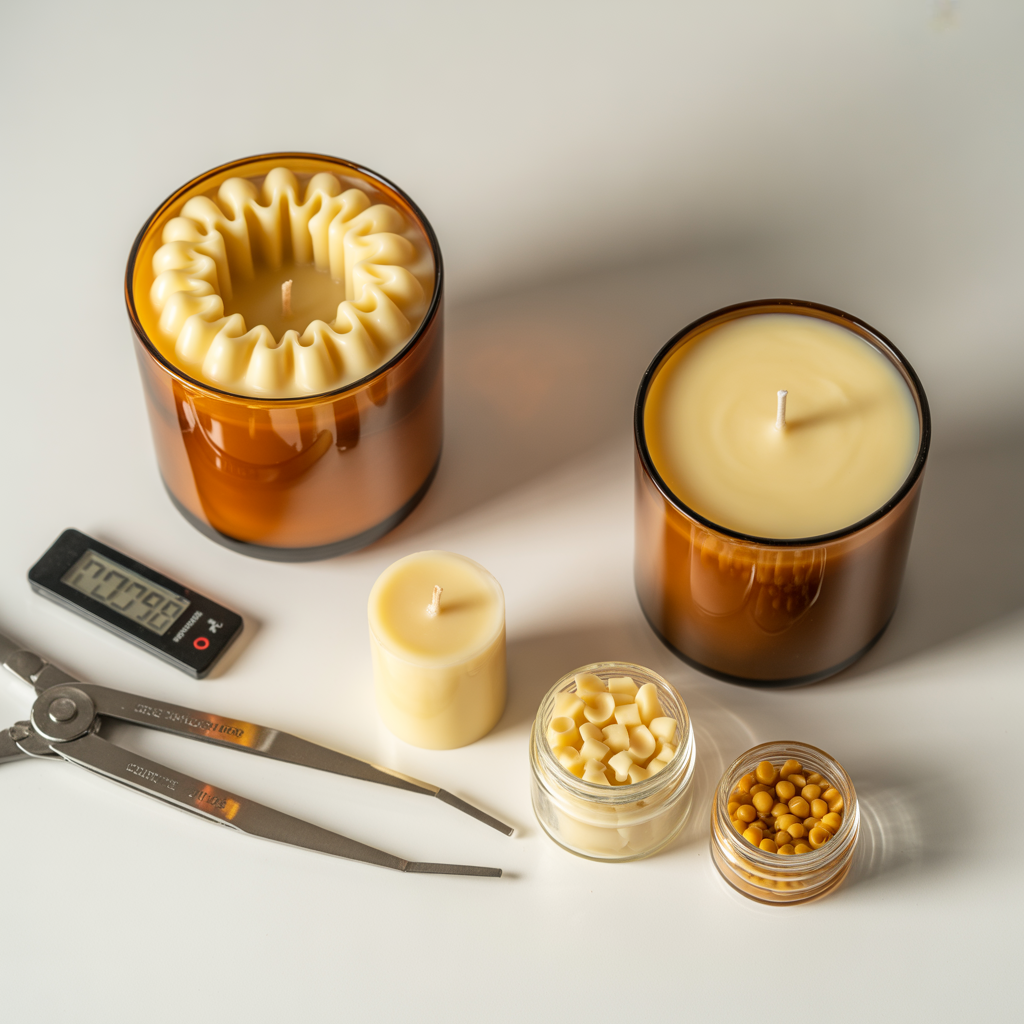
Curing, Trimming, and Finishing Your Candles
Curing is the process that allows the fragrance to bind fully with the wax. For most soy and coconut candles, 48 hours is the minimum, but a full week gives the best scent throw. Trimming the wick to about a quarter-inch before lighting ensures a clean burn. Proper curing and trimming increase candle longevity, prevent tunneling, and improve the fragrance throw. Finishing touches such as smoothing the top surface or removing air bubbles elevate your DIY scented candles to professional quality.
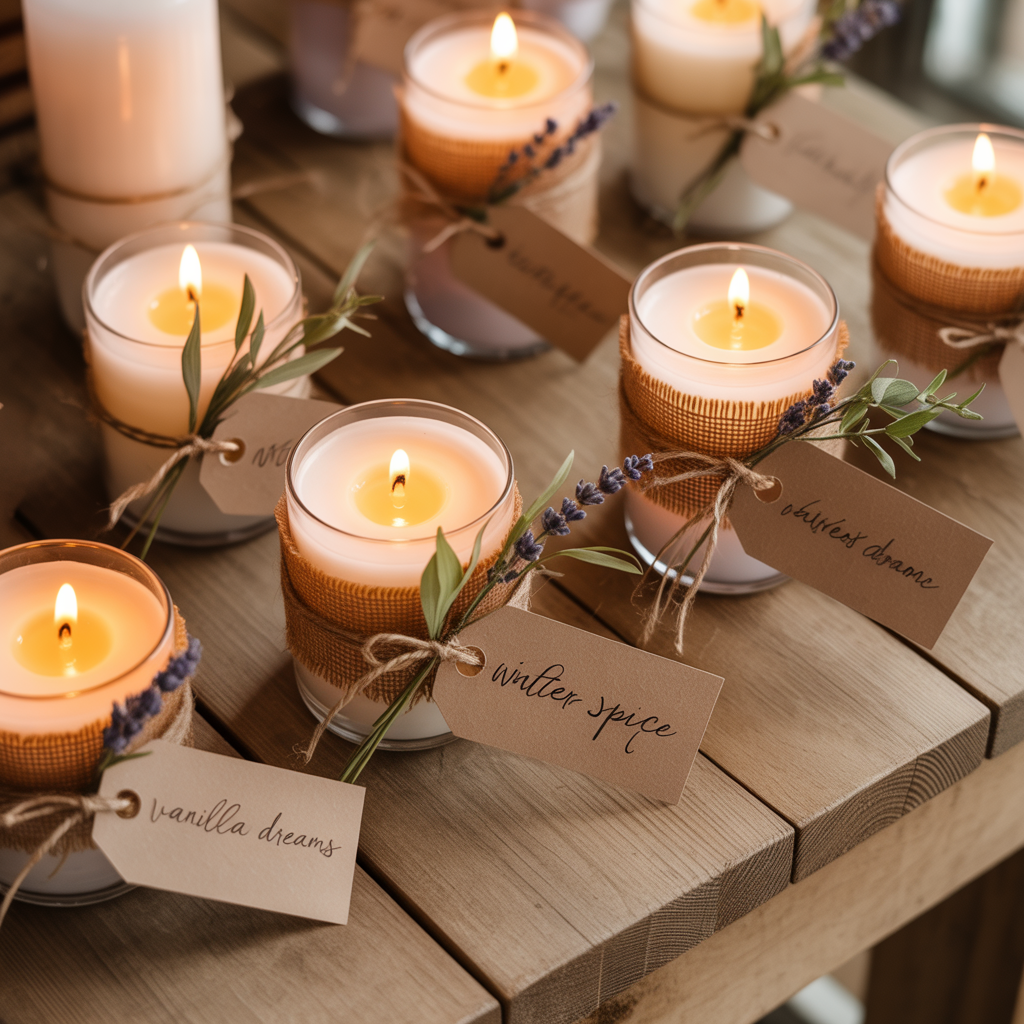
Decorating and Personalizing Your DIY Candles
Personalization makes homemade candles special. You can dress jars with twine, ribbons, or fabric for a rustic charm. Embedding dried flowers, herbs, or glitter adds a creative touch. Labels with the scent and pour date can make candles feel professional and gift-ready. Using old mugs or tins adds a personal story to each candle. Decorating jars and candles allows you to infuse personality, making your creations stand out as gifts or décor.
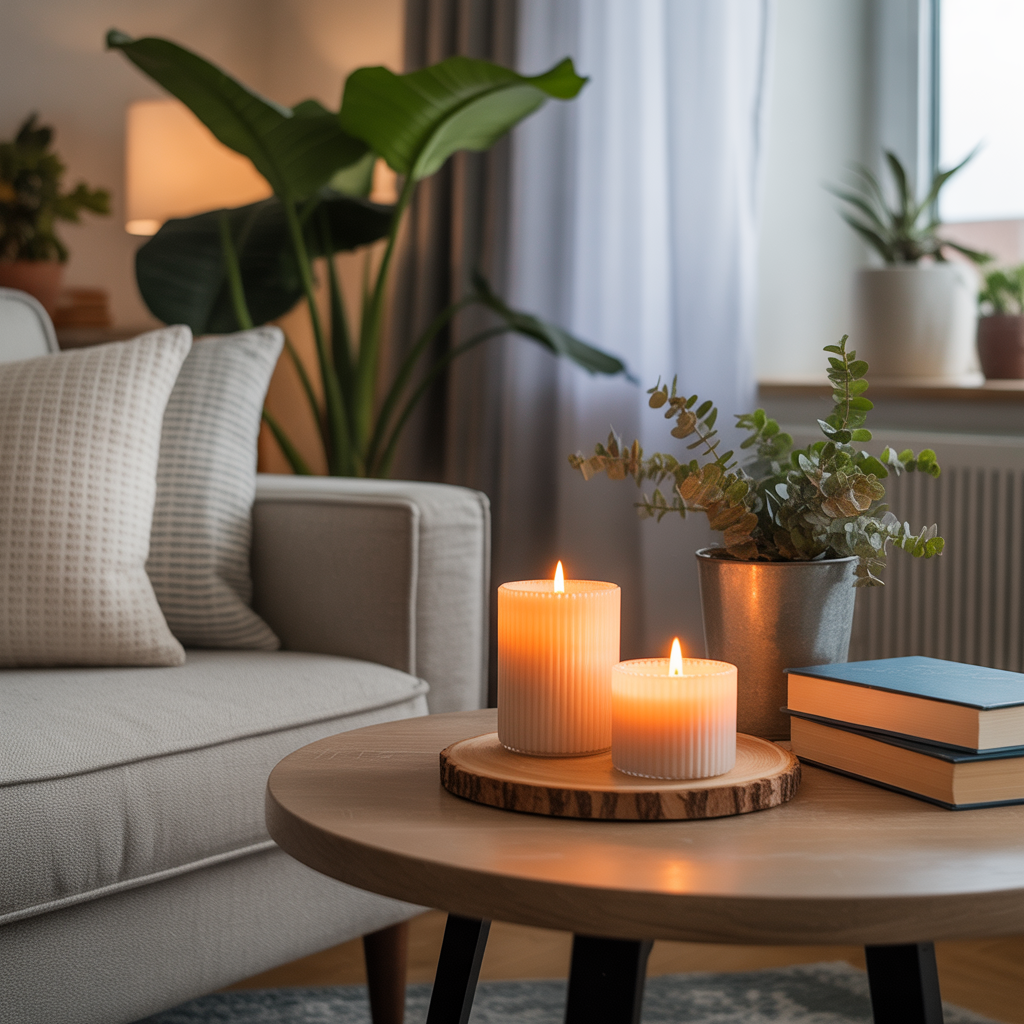
Creative Ways to Use Homemade Candles
DIY scented candles are versatile. They can enhance home décor by creating cozy corners or highlight seasonal themes. Candles also work as self-care tools, such as using a lavender candle during a bath to create a spa-like experience. They make memorable handmade gifts for family and friends, adding warmth and thoughtfulness to holidays or celebrations. Even using a citrus candle while cooking can refresh a kitchen, while vanilla candles in the evening promote relaxation. Crafting candles at home allows every corner to shine with light and scent.
Troubleshooting Common Candle-Making Issues
Even experienced candle-makers face challenges. Uneven burning can be fixed by trimming the wick and letting the wax pool reach the edges. Weak fragrance often results from poor-quality oils or insufficient curing time. Tunneling occurs when the candle burns down the center, which can be prevented by allowing the first burn to last 2–3 hours. Air bubbles or sunken tops can be corrected by pouring slowly and gently tapping the container. Understanding candle troubleshooting ensures your homemade candles look great, smell wonderful, and last long.
Final Thoughts
Making DIY scented candles is more than a hobby; it is a way to create cozy home atmospheres, enjoy self-care rituals, and make meaningful handmade gifts. With the right wax, wicks, fragrances, and techniques, anyone can craft homemade candles that look professional and smell amazing. From blending scents for candles to personalizing homemade candles, this craft adds beauty, warmth, and intention to everyday life. Once you experience the joy of pouring your own candle, you’ll understand why DIY candles are so special.
FAQs
Q1. Can I make scented candles without a double boiler?
A: Yes, you can melt wax in a microwave-safe container using short 30-second bursts, but a double boiler gives better control and prevents scorching.
Q2. How long should DIY scented candles cure before burning?
A: Most soy and coconut candles need at least 48 hours, but a full week gives the strongest fragrance throw.
Q3. Which wax is best for beginners making scented candles at home?
A: Soy wax is ideal for beginners because it’s easy to work with, burns cleanly, and holds fragrance well.
Q4. How much essential oil should I add to my homemade candles?
A: Add about 20–30 drops of essential oil per 8 oz of wax for a strong, long-lasting scent.
Q5. Why is my candle tunneling, and how can I fix it?
A: Tunneling happens when the wax burns straight down the middle; avoid it by letting the first burn last 2–3 hours so the wax pool reaches the edges.
 By
By